Discover the Wonderfully Relaxing World of Home Gua Sha
For effective home Gua Sha, wait 1-2 hours after eating. Avoid practicing when you are completely hungry or overly full.Time Your Session: Boost Absorption
Ensure your room temperature is comfortable, between 72-79 degrees Fahrenheit. This prevents catching a chill, keeping your body relaxed and safe.Warm Up Your Space: Prevent Discomfort
Pick a quiet, comfy spot and play some gentle music. This helps you relax deeper into the experience.Set the Scene: Enhance Relaxation
Before you begin, take a warm shower to open up your skin’s pores. This simple step significantly enhances the treatment’s effectiveness. Explore more about holistic well-being on our Healthy Living page.Pre-Warm Your Skin: Maximize Benefits
Seamlessly Integrating Gua Sha into Your Daily Routine
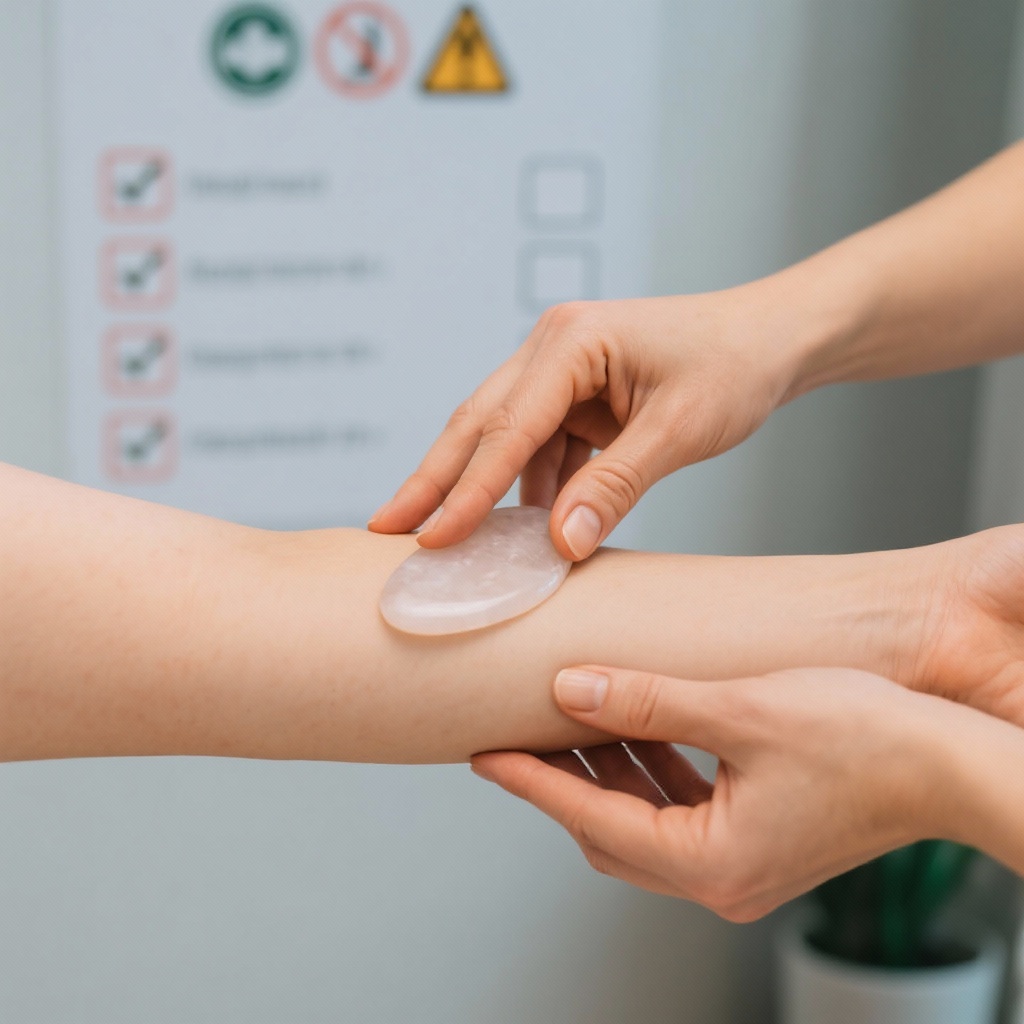
If you are new to this practice, begin with easily accessible areas. Starting simple builds your confidence and technique effectively.Start Small: Gain Confidence
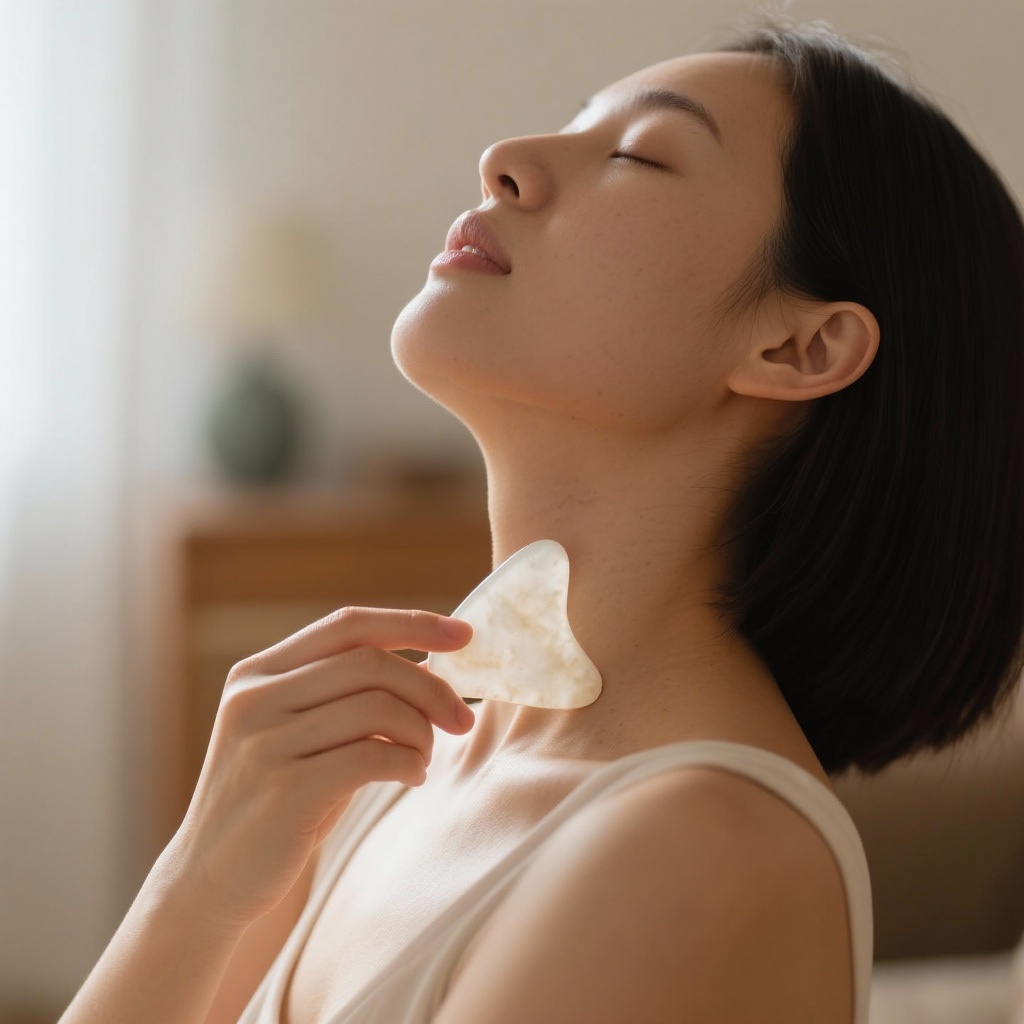
Your neck and shoulders are perfect, especially for easing common modern stiffness. Many people find great relief there from daily tension.Soothe Your Shoulders: Relieve Daily Tension
The inner arms, along the pericardium and lung meridians, are also simple spots. Working these areas can alleviate feelings of chest tightness or shortness of breath.Open Your Chest: Breathe Easier
Gently scraping around the bubbling spring point (Yongquan) on your foot helps with sleep. This specific technique can promote deeper, more restful nights. Learn about the science behind these points on our Acupoints & Meridians guide.Scrape Your Soles: Encourage Sleep
The back offers fantastic benefits, but you will need assistance. Ask a trusted family member to help you reach this area. These practical home Gua Sha techniques for these easily accessible areas, including your neck, shoulders, inner arms, and even your feet, promote localized circulation and energetic flow, enhancing your overall well-being.Enlist Help: Unlock Back Benefits
Choosing Your Perfect Lubricant: Smooth and Soothing
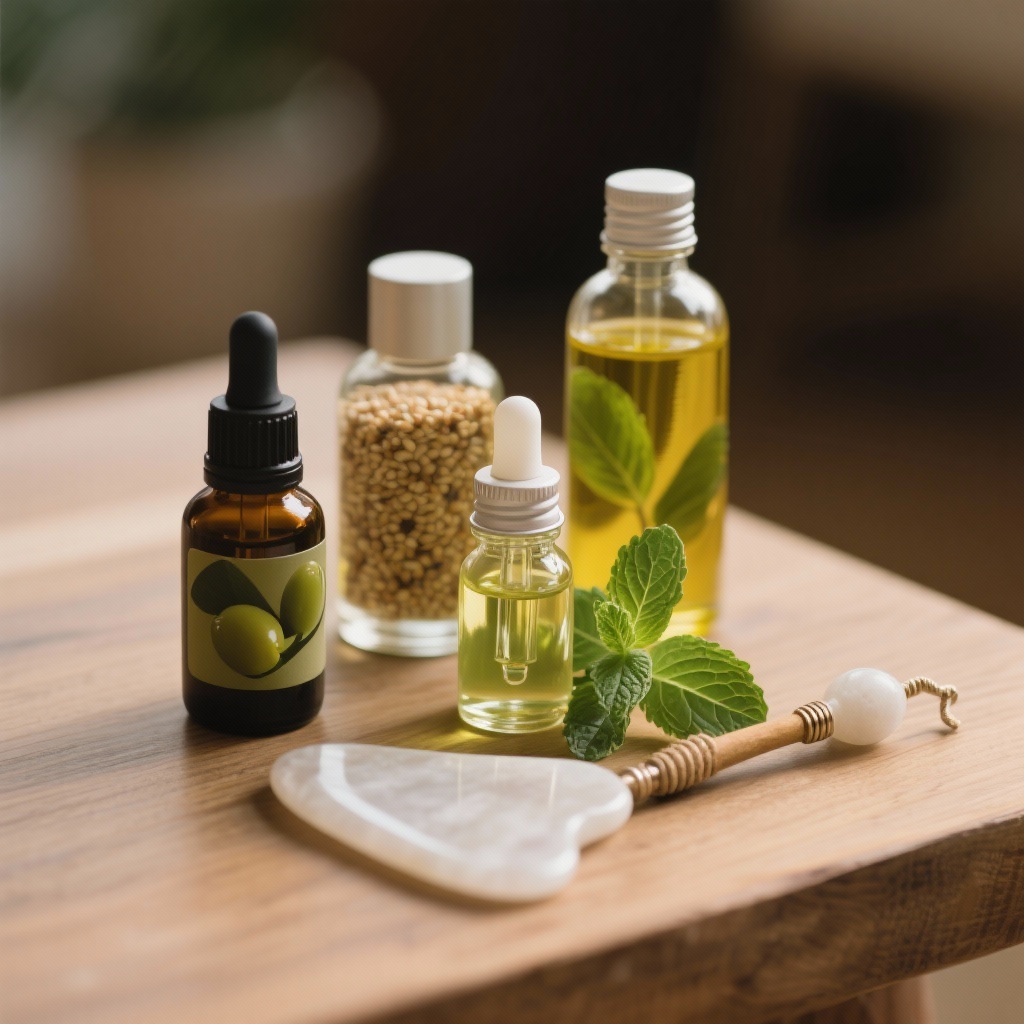
Common kitchen oils like olive or sesame oil make excellent scraping mediums. They are readily available and work just as well as specialized oils.Go Natural: Use Kitchen Staples
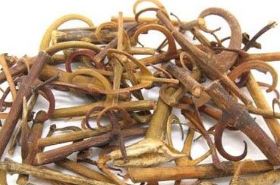
In winter, blend ginger juice with sesame oil for warming properties. This combination helps to gently warm the body and disperse cold, much like a cozy blanket.Winter Warmth: Infuse Ginger
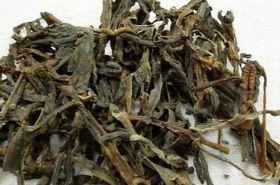
For summer, try an oil infused with refreshing mint leaves. It provides a wonderfully cool and invigorating sensation.Summer Cool: Embrace Mint
If your skin is sensitive, plain warm water can also work. Just be aware that its lubricating effect is less pronounced.Sensitive Skin Solution: Opt for Water
Decoding Your Body's Signals: What the 'Sha' Means
Proper home Gua Sha will produce reddish spots or streaks on your skin. This is totally normal and indicates improved blood flow.Spot the 'Sha': Confirm Circulation
If you scrape for a while with no 'sha,' your technique might be too light. It could also mean that particular area already has excellent circulation.No Sha? Adjust or Reassess
The color and intensity of the 'sha' reflect your body's stagnation level. Deeper colors suggest more significant areas of blockage, much like a backed-up drain. Discover more about how energy flows in the body on our Qi & Blood page.Read the Colors: Understand Your Body
'Sha' marks usually fade naturally within 3-7 days after treatment. Avoid scorching hot water on the treated area during this recovery period.Heal Gently: Protect Your Skin
Embracing Safe Practices: Your Home Gua Sha Checklist
Gradually increase your scraping pressure, starting gently and progressing. This allows your skin to adapt comfortably to the sensation.Pace Your Pressure: Allow Adaptation
Limit each area to 5-10 minutes, resisting the urge to overdo it. More is not always better when it comes to Gua Sha.Set a Timer: Avoid Over-Scraping
Avoid Gua Sha on broken skin or if you have a fever or cold. Prioritize your body's natural healing and recovery processes.Know When to Pause: Prioritize Healing
During menstruation or pregnancy, exercise caution and avoid the abdomen. Also, steer clear of the lower back and sacrum during these times.Exercise Caution: Protect Sensitive Areas
After your session, drink plenty of warm water. This helps your body flush out metabolic waste and supports recovery.Hydrate Post-Session: Aid Detox
Troubleshooting Common Gua Sha Questions with Ease
If you feel a little lightheaded after your session, don't worry. This is a common, normal reaction; simply rest a few moments.Feeling Dizzy? Take a Break
Small red dots appearing on your skin are also nothing to be concerned about. These are minor capillary bleeds that vanish in a few days. (PMID: 29875950)See Red Dots? Stay Calm
If a treated area becomes more painful, your technique might be too firm. Remember to lessen your pressure next time for better comfort.Pain Increases? Lighten Up
Do not shower immediately after your Gua Sha treatment. Wait at least two hours or more to allow your pores to close.Post-Gua Sha Shower: Hold Off
Magically Magnifying Your Gua Sha Benefits
Before starting, apply a warm towel to the area you plan to treat. This helps blood vessels expand, preparing the skin for maximum benefit.Pre-Warm with Towels: Maximize Flow
Incorporate deep breathing during your home Gua Sha session. This supports the flow of energy and circulation throughout your body. (PMID: 28834927)Breathe Deeply: Enhance Energy Flow
For frequently scraped areas, wait 3-5 days before another session. This prevents over-stimulation and allows your skin to recover completely.Pace Your Sessions: Prevent Over-Treatment
Combining Gua Sha with acupressure enhances the overall benefits. For example, after scraping your arm, press the Hegu (LI4) point.Combine with Acupressure: Boost Results
Cleverly Using Everyday Items as Your Gua Sha Tools
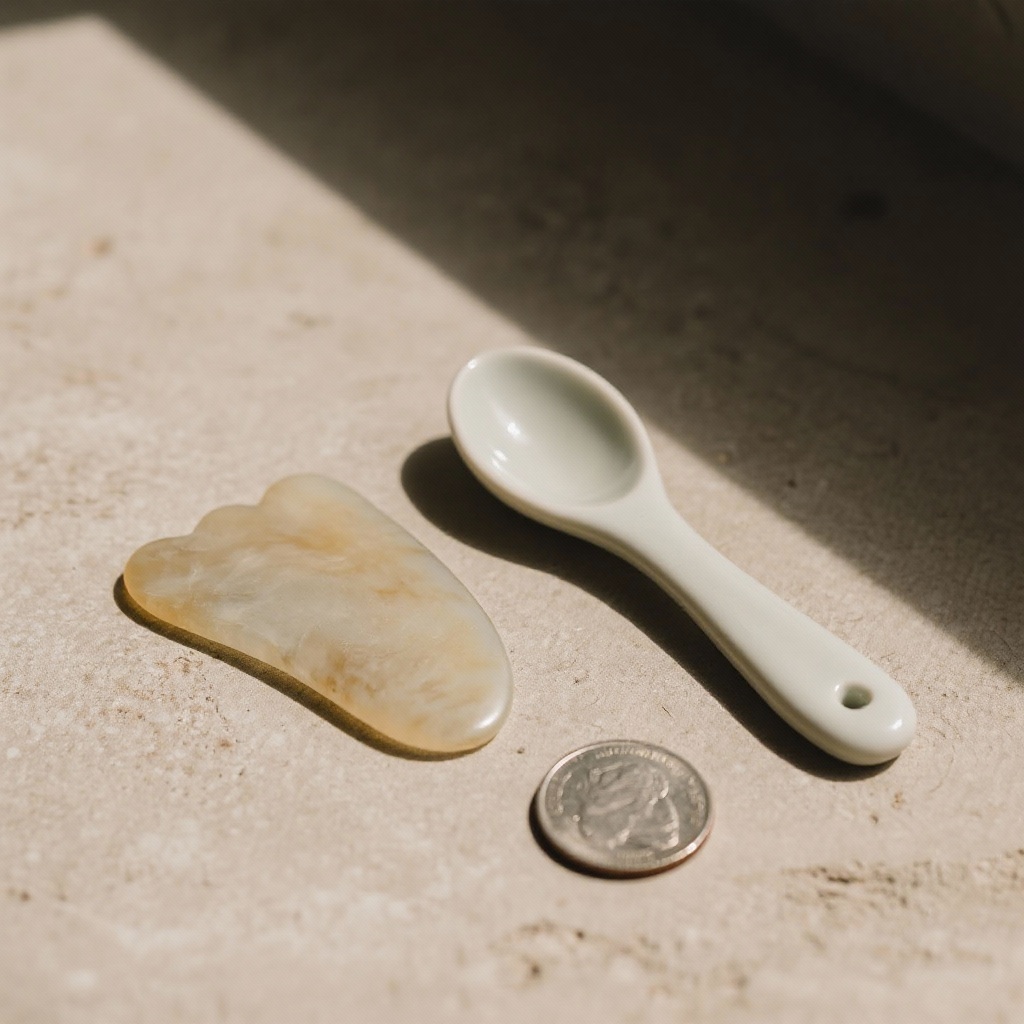
If you lack a professional Gua Sha tool, household items can substitute. A smooth-edged coin or the back of a spoon works perfectly. (PMID: 30149021)Improvise Tools: Use Household Items
Your fingernails can also perform light scraping for smaller areas. This is surprisingly effective for localized tension points.Use Your Nails: Target Small Spots
Always thoroughly clean and sanitize any tool before use. This crucial step prevents any potential skin infections.Clean Your Tools: Prevent Infection
After use, wash and dry your tools promptly. Proper care extends their lifespan and maintains hygiene.Care for Tools: Ensure Longevity
References:
(PMID: 29875950) Research confirms Gua Sha-induced petechiae are a temporary, minor capillary response.
(PMID: 28834927) Studies indicate Gua Sha effectively promotes microcirculation and reduces pain.
(PMID: 30149021) Traditional Gua Sha implements often include common household items, validating their practical use.
Quick Self-Test & Instant Self-Rescue!
Quick 3-Second Self-Test: Do you feel a knot of tension in your shoulders or neck right now? Instant 30-Second Self-Rescue: If you feel shoulder tension, immediately grab a smooth spoon and gently scrape downwards from your neck to your outer shoulder for 30 seconds, using a little lotion. These practical home Gua Sha tips empower you to soothe tension and feel better fast.Medical Disclaimer:This article is for educational use only and is not a substitute for professional medical advice.